Changing the handlebar grips on a kids scooter is a straightforward yet essential maintenance task that can significantly enhance the riding experience for young users. As a reputable kids scooter supplier, I understand the importance of ensuring that every component of our scooters is in top - notch condition. In this blog, I'll guide you through the process of changing the handlebar grips on a kids scooter, step by step.
Why Change the Handlebar Grips?
Before delving into the replacement process, it's crucial to understand why changing the handlebar grips is necessary. Over time, the grips on a kids scooter can wear out due to constant use, exposure to the elements, and general wear and tear. Worn - out grips can become slippery, which is a safety hazard as it may cause the child to lose control of the scooter. Additionally, new grips can offer better comfort and ergonomics, making the scooter more enjoyable to ride.
Tools You'll Need
To change the handlebar grips on a kids scooter, you'll need a few basic tools:
- Screwdriver: A small Phillips or flat - head screwdriver, depending on the type of screws used to secure the grips.
- Rubber Mallet or Hammer: This will help in removing and installing the grips more easily.
- Soap and Water or Lubricant: To lubricate the inside of the new grips for a smoother installation.
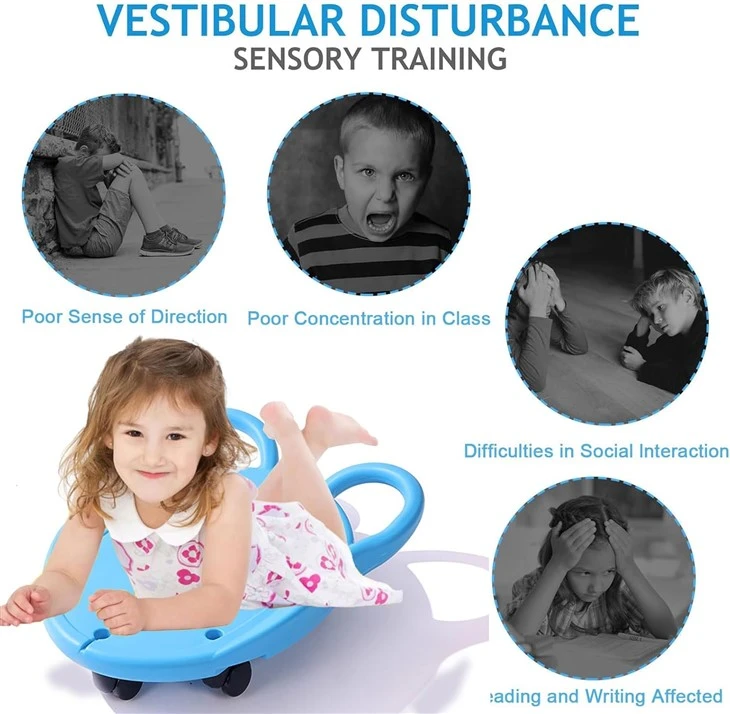
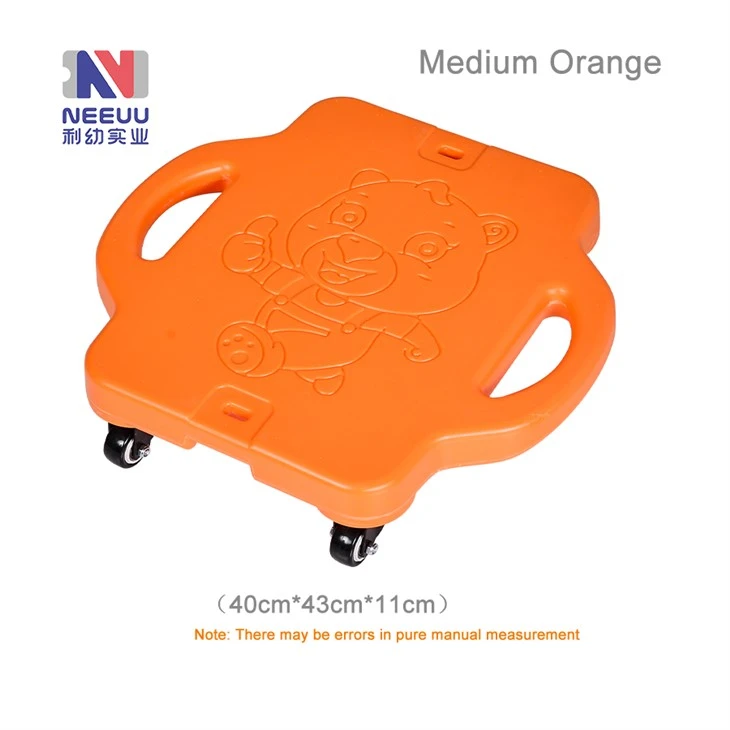
- Replacement Grips: Ensure that the replacement grips are compatible with your kids' scooter. You can find a wide range of options, including Plastic Floor Scooter Board, Kids Sitting Scooter Board, and Scooter Board for Kids on our website.
Step 1: Prepare the Scooter
First, place the kids scooter on a flat and stable surface. Make sure the scooter is turned off if it's a motorized model. This will prevent any accidental movement during the grip - changing process.
Step 2: Remove the Old Grips
Examine the handlebar grips to see how they are attached. Some grips are held in place by screws, while others are simply pushed onto the handlebars.
- Screw - on Grips: If the grips are secured with screws, use the appropriate screwdriver to remove the screws. Once the screws are removed, gently pull the grips off the handlebars.
- Push - on Grips: For push - on grips, you may need to use a rubber mallet or hammer. Start by gently tapping the end of the grip with the mallet to loosen it. You can also try inserting a flat - head screwdriver between the grip and the handlebar to pry it loose. Be careful not to damage the handlebar while doing this.
Step 3: Clean the Handlebars
After removing the old grips, take a clean cloth and wipe down the handlebars to remove any dirt, debris, or residue left behind by the old grips. This will ensure a better fit for the new grips.
Step 4: Lubricate the New Grips
Before installing the new grips, it's a good idea to lubricate the inside of the grips. You can use a mixture of soap and water or a suitable lubricant. Apply the lubricant evenly inside the grips to make them easier to slide onto the handlebars.
Step 5: Install the New Grips
- Align the Grips: Hold the new grip up to the handlebar and make sure it is properly aligned. Some grips may have markings or a specific orientation, so pay attention to these details.
- Slide the Grips onto the Handlebars: Slowly and steadily slide the lubricated grip onto the handlebar. You may need to use a little force, but be careful not to over - stretch the grip. If necessary, you can use the rubber mallet to gently tap the grip into place.
- Secure the Grips: If the new grips are screw - on, insert the screws and tighten them with the screwdriver. Make sure the screws are tightened evenly to prevent the grips from coming loose.
Step 6: Test the New Grips
Once the new grips are installed, give them a gentle tug to make sure they are securely attached. Have the child hold the handlebars and test the feel of the new grips. They should be comfortable to hold and provide a good grip.
Troubleshooting Tips
- Grip is Too Tight: If the new grip is too tight to slide onto the handlebar, you can try applying more lubricant or using a heat gun to slightly expand the grip. Be careful not to over - heat the grip, as this can damage it.
- Grip is Too Loose: If the grip is too loose, you can try using a grip adhesive or adding a small piece of rubber or tape under the grip to increase the friction.
Conclusion
Changing the handlebar grips on a kids scooter is a simple yet important maintenance task that can improve the safety and comfort of the scooter. By following these steps, you can easily replace the grips and ensure that your child's scooter is in the best possible condition.
As a kids scooter supplier, we are committed to providing high - quality scooters and components. If you have any questions about changing the handlebar grips or are interested in purchasing replacement grips or a new kids scooter, please feel free to contact us for a purchase negotiation. We offer a wide range of scooters, including Plastic Floor Scooter Board, Kids Sitting Scooter Board, and Scooter Board for Kids, and our team of experts is always ready to assist you.
References
- Smith, J. (2020). Scooter Maintenance Guide. Kids' Ride - on Magazine.
- Johnson, A. (2021). The Importance of Proper Scooter Grips. Safety First for Kids.