

Installing a jumping board can be a rewarding project that brings endless fun and entertainment to your home or play area. As a leading supplier of high-quality jumping boards, we understand the importance of a proper installation process to ensure safety and optimal performance. In this blog post, we'll guide you through the steps of installing a jumping board, from preparation to the final touches.
Step 1: Choose the Right Location
The first step in installing a jumping board is selecting the perfect spot. Look for an area that is flat, level, and free from any obstacles or hazards. It should also have enough space around it to allow for safe jumping and movement. Consider the following factors when choosing a location:
- Indoor vs. Outdoor: Decide whether you want to install the jumping board indoors or outdoors. Indoor installations are ideal for year-round use and protection from the elements, while outdoor installations offer more space and a natural environment.
- Surface Type: The surface on which you install the jumping board should be firm and stable. Concrete, asphalt, and wooden decks are all suitable surfaces. Avoid installing the jumping board on soft or uneven surfaces, as this can affect its stability and performance.
- Clearance: Make sure there is enough clearance around the jumping board to prevent any collisions with walls, furniture, or other objects. A minimum clearance of 3 feet on all sides is recommended.
Step 2: Gather the Necessary Tools and Materials
Before you begin the installation process, gather all the tools and materials you'll need. Here's a list of the essential items:
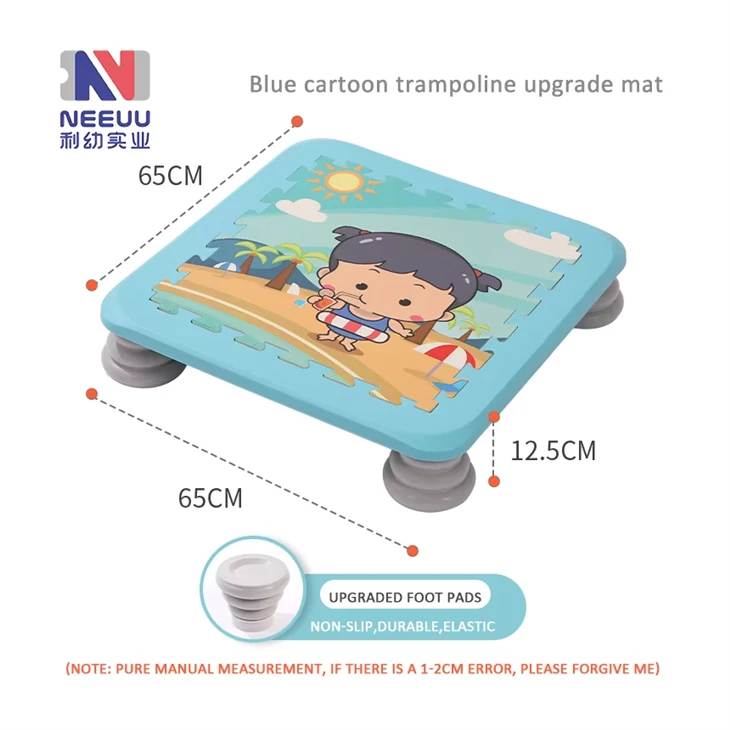
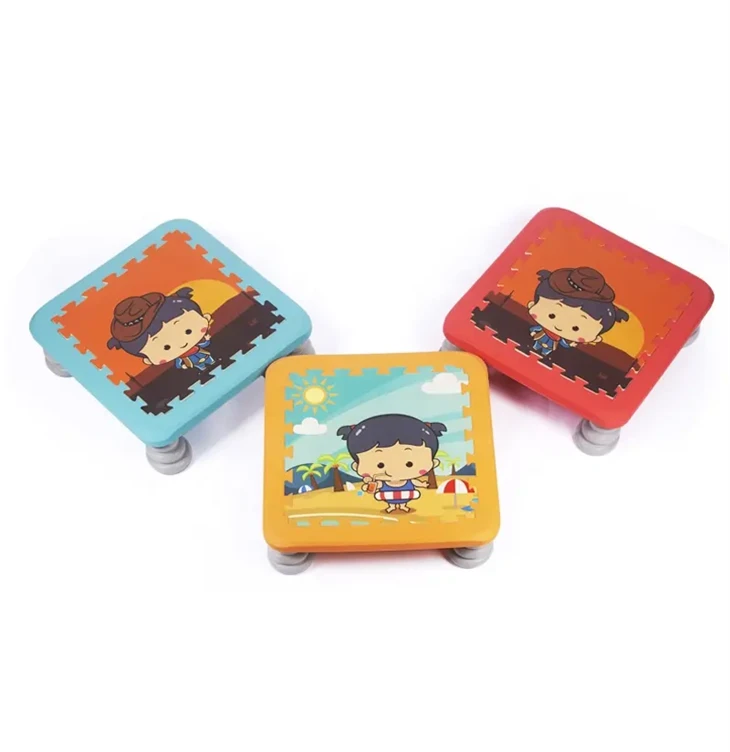
- Jumping Board: Of course, you'll need a jumping board. We offer a wide range of Toddler Bouncing Board, Kids Mini Trampoline, and Indoor Small Trampoline for Kids to suit different ages and needs.
- Measuring Tape: Use a measuring tape to ensure accurate placement and alignment of the jumping board.
- Level: A level is essential for ensuring that the jumping board is installed perfectly flat and level.
- Drill: You'll need a drill to make holes for the bolts or screws that will secure the jumping board to the surface.
- Bolts or Screws: Depending on the type of jumping board and the surface you're installing it on, you'll need the appropriate bolts or screws. Make sure they are long enough to provide a secure hold.
- Wrench or Screwdriver: Use a wrench or screwdriver to tighten the bolts or screws.
- Safety Pads: Safety pads are an important accessory that can help prevent injuries. Make sure you have enough safety pads to cover the edges and frame of the jumping board.
Step 3: Prepare the Surface
Once you've chosen the location and gathered the necessary tools and materials, it's time to prepare the surface. Follow these steps:
- Clean the Surface: Remove any dirt, debris, or loose material from the surface where you'll be installing the jumping board. This will ensure a good bond between the jumping board and the surface.
- Mark the Placement: Use a measuring tape and a level to mark the exact placement of the jumping board on the surface. Make sure the markings are straight and evenly spaced.
- Drill the Holes: Using a drill, make holes in the surface at the marked locations. The size and depth of the holes will depend on the type of bolts or screws you're using.
- Insert the Anchors: If you're using bolts, insert the anchors into the holes. Make sure they are flush with the surface.
Step 4: Assemble the Jumping Board
Before you install the jumping board on the surface, you'll need to assemble it. Follow the manufacturer's instructions carefully to ensure proper assembly. Here are some general tips:
- Lay Out the Parts: Lay out all the parts of the jumping board on a flat surface. Make sure you have all the necessary components and hardware.
- Connect the Frame: Connect the frame pieces of the jumping board using the provided bolts or screws. Make sure the connections are tight and secure.
- Attach the Jumping Mat: Attach the jumping mat to the frame using the provided clips or hooks. Make sure the mat is centered and evenly stretched.
- Install the Safety Pads: Install the safety pads around the edges and frame of the jumping board. Make sure they are securely attached.
Step 5: Install the Jumping Board
Once the jumping board is assembled, it's time to install it on the surface. Follow these steps:
- Lift the Jumping Board: Carefully lift the jumping board and place it on the prepared surface. Make sure it is aligned with the marked locations.
- Insert the Bolts or Screws: Insert the bolts or screws through the holes in the jumping board and into the anchors or holes in the surface. Use a wrench or screwdriver to tighten them securely.
- Check the Level: Use a level to check that the jumping board is perfectly flat and level. If necessary, adjust the bolts or screws to level the jumping board.
- Test the Jumping Board: Once the jumping board is installed, test it to make sure it is stable and secure. Have someone jump on it gently to check for any movement or wobbling.
Step 6: Add the Finishing Touches
After the jumping board is installed, you can add some finishing touches to make it more attractive and safe. Here are some ideas:
- Decorate the Jumping Board: You can decorate the jumping board with colorful stickers, paint, or other decorations to make it more fun and appealing.
- Install a Ladder: If the jumping board is high off the ground, consider installing a ladder to make it easier for kids to get on and off.
- Add a Safety Net: A safety net can provide an extra layer of protection and prevent kids from falling off the jumping board.
Step 7: Maintain the Jumping Board
To ensure the longevity and safety of your jumping board, it's important to maintain it regularly. Here are some tips:
- Inspect the Jumping Board: Regularly inspect the jumping board for any signs of damage or wear. Check the frame, jumping mat, bolts, and screws for any loose or damaged parts.
- Clean the Jumping Board: Clean the jumping board regularly to remove any dirt, debris, or stains. Use a mild soap and water solution and a soft brush to clean the jumping mat and frame.
- Tighten the Bolts and Screws: Periodically check the bolts and screws to make sure they are tight. If any are loose, tighten them using a wrench or screwdriver.
- Replace Worn Parts: If any parts of the jumping board are worn or damaged, replace them immediately. This will ensure the safety and performance of the jumping board.
In conclusion, installing a jumping board is a relatively simple process that can be completed in a few hours with the right tools and materials. By following the steps outlined in this blog post, you can ensure a safe and successful installation. If you have any questions or need further assistance, please don't hesitate to contact us. We're here to help you choose the right jumping board for your needs and provide you with all the support you need to install and maintain it.
Whether you're looking for a Toddler Bouncing Board, a Kids Mini Trampoline, or an Indoor Small Trampoline for Kids, we have a wide range of high-quality products to choose from. Contact us today to discuss your requirements and start the process of bringing fun and excitement to your home or play area.
References
- Trampoline Installation Guide - Generic trampoline installation guidelines from a trusted source.
- Safety Standards for Jumping Boards - Information on safety standards and regulations for jumping boards.